Hanging Bunk Beds
*For those tl;dr folks, there’s some pictures down below.
If you’ve ever had the pleasure of being in my house, you know that we’re a little cozy and limited on space. Most days I like it that way, helps me to keep my material possession desires in check. We’ve had the boys in the same room for a while now but were just working off of two Ikea Malm twin beds in different corners of the room. It was functional but not necessarily practical. Discussions of bunk beds were had on several occasions but neither myself or my wife could come to agreement on what those would actually be.
I’m not actually sure what the final straw was that made me really decide to make a change but sometime a month and a half or so ago, I finally decided it was time. Instead of going the standard Rooms-to-Go/Ikea/pressed laminate or particle board route, I wanted to do something a little more custom for them and after a bit of just Google-ing ideas, I felt like I found the right solution. Once again, discussions were had due to past examples of my “handi-work,” but I finally won over the person in charge of the house and she agreed to let me move forward.
It was a random Sunday evening when I sent my business partner Ryan a text message to let him know we were closing up shop on the following Monday; once he found out why, it didn’t take much to convince him. He was at the house around 8 or 9 that next morning and we quickly loaded up for the closest big box hardware store here in town.
The Build
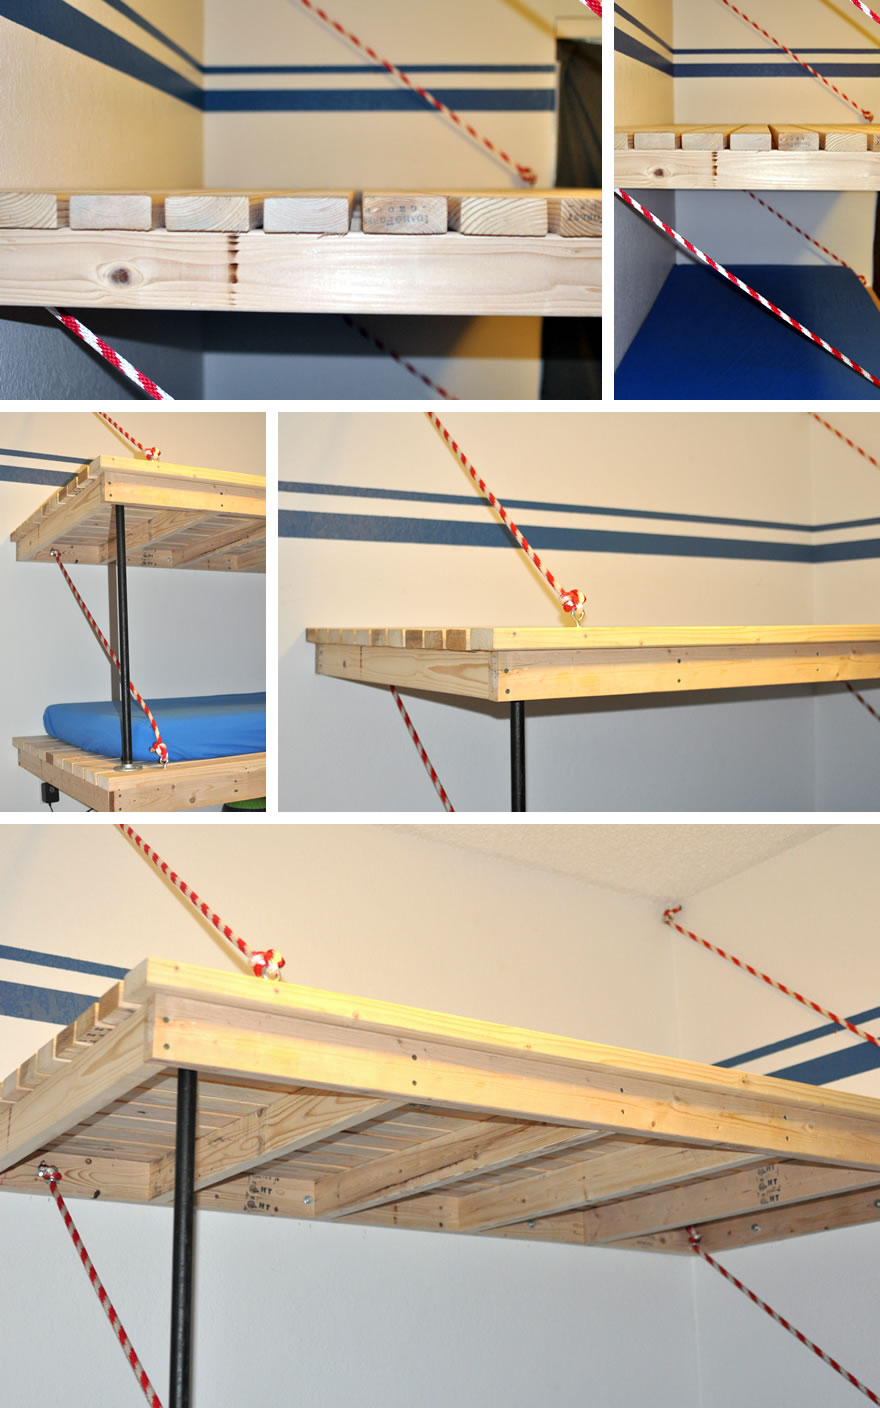
We spent an entire day (with multiple Lowe’s trips), 30 some-odd pieces of standard 2″ x 4″ x 8′, lots of screws/bolts/anchors, and about 50′ of nylon rope to end up hanging two custom, twin-sized beds from the wall in our boys’ room. They’re quite heavy, more than I anticipated. They’re each anchored 5 or 6 times into wall studs and the ropes are anchored as well. My wife was pleasantly surprised when she got home to see that we both accomplished the task and they turned out decently as well. She still had concerns about them purely hanging so I added the steel pipe, corner stands under the free-hanging corner to ease her (and my) concerns.
In addition, I created some birch wood rails that slide under the edge of each mattress so they don’t come tumbling down in the middle of the night. The color of the birch matches the color of the 2 x 4’s pretty well. Finally, I created a solid, yet removable ladder to get up and down from the top bunk. It’s made out of some of the leftover 2 x 4’s from the project and is a nice replacement to the metal folding ladder I offered them for the first few days.
Final Thoughts
The boys love them and have been put on a scheduled rotation of who gets the top bunk, changing out each time we wash their sheets. It’s created more play space for them in their room and allowed us to free up the other bedroom in our house purely for guests and/or a nice open space for us to make the boys go play when they’re being a little too noisy!
Since I don’t normally get to work with my hands, it was a nice change of pace. I was able to create something custom for my family, keep the cost well below what we might have paid for a nice set of bunk beds, and possibly even restored a little confidence in my wife that might allow me to try another project down the road.
I’m sure there’s much more to say about the craftsmanship, the process, the tools, the legacy, etc but I’ll leave that for another day or possibly another writer.
Here’s a few shots of the finished pieces. If you want more details about our process or the plans for the beds, hit me up.
